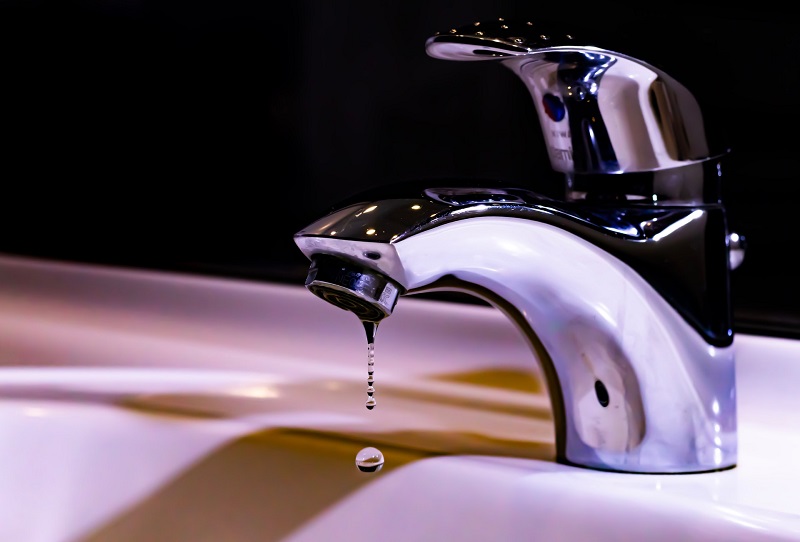
A dripping faucet, especially in the kitchen or bathroom, is more than just an annoying sound. It can cause your water bill to skyrocket and waste a significant amount of water over time. Whether you’ve noticed a small trickle or a steady stream of water, fixing a leaking tap in The Range can save you both water and money in the long run. In this blog, we’ll guide you through the process of fixing leaking taps efficiently, saving you the cost of professional repairs while helping you do your part for the environment.
Why Fixing A Leaking Tap Is Crucial
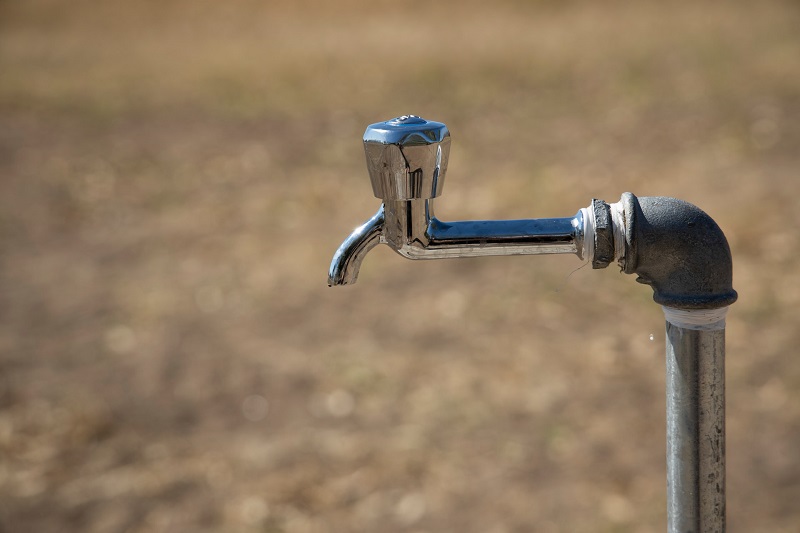
A single dripping tap can waste over 5,000 liters of water annually. That’s roughly the amount of water needed to fill a hot tub! In addition to the environmental impact, this excess water consumption can lead to higher utility bills. Over time, this seemingly minor issue can accumulate to a noticeable increase in costs.
Moreover, the damage caused by leaking taps can go beyond water waste. Constant dripping can erode the seals, corrode the fixtures, and even damage your countertop or flooring. Fixing a leaking tap is not only about saving water but also preventing future costly repairs.
The Simple Science Behind Leaking Taps
Before diving into the repairs, it’s essential to understand why taps leak in the first place. Most modern taps consist of a cartridge or valve that regulates water flow. Over time, these components can degrade due to regular use, causing a slow but consistent leak. The most common causes include:
- Worn-out washers: The washer is a crucial component that seals the tap. When it becomes worn or damaged, it no longer forms a proper seal, allowing water to leak through.
- Corroded or damaged valve seat: The valve seat connects the faucet to the spout. Corrosion or mineral buildup can prevent it from sealing correctly, leading to leaks.
- Loose or damaged parts: Over time, even the internal components of the tap can become loose or worn, leading to water escaping.
By addressing these issues, you can stop the leaks and keep your taps functioning efficiently.
How To Fix Leaking Taps In The Range: A Step-By-Step Guide
Now that we understand the causes, let’s walk through the process of fixing a leaking tap in The Range. Whether you’re dealing with a bathroom or kitchen tap, these steps will guide you through the repair process efficiently.
Turn Off the Water Supply
Before you start, ensure that you turn off the water supply to the tap. This is a critical step to avoid any water flooding your sink or bathroom while you work on the repairs.
- Locate the shutoff valve: Most taps will have a water shutoff valve underneath the sink or nearby. Turn it clockwise to stop the flow of water.
- Open the tap: After turning off the water supply, open the tap to relieve any residual pressure and drain the remaining water in the system.
Disassemble The Tap
Once you’ve gathered your tools, it’s time to remove the handle and access the internal components.
- Remove the handle: Most taps have a cover that hides the screw holding the handle in place. Use a flathead screwdriver to pry off the cover and then unscrew the handle.
- Take out the cartridge or valve: With the handle removed, you’ll have access to the cartridge or valve. Use an adjustable wrench to remove the valve assembly.
Be sure to note the order in which you remove the parts for easier reassembly later.
Inspect And Replace Worn Components
Once you’ve removed the cartridge or valve, you can inspect it for damage.
- Examine the washer: The washer is often the cause of the leak. If it’s worn, cracked, or damaged, it will need to be replaced.
- Check the valve seat: If the valve seat is corroded or has mineral deposits, you might need to clean or replace it. Use a wire brush or a cleaning solution to remove any buildup.
- Inspect the O-rings: If your tap has O-rings, check them for signs of wear or damage. These small seals play a crucial role in stopping leaks. If necessary, replace them.
It’s always a good idea to bring the worn-out components to a hardware store to ensure you purchase the correct replacement parts.
Reassemble The Tap
Once you’ve replaced the necessary parts, it’s time to put everything back together.
- Reinstall the valve and cartridge: Place the new or repaired cartridge back into the tap housing. Make sure everything fits snugly in place.
- Attach the handle: Once the internal components are in place, screw the handle back onto the tap. Tighten it with a screwdriver.
- Apply plumber’s tape (optional): If necessary, wrap plumber’s tape around the threads to ensure a secure seal.
Test The Tap
Now that the tap is reassembled, it’s time to test it.
- Turn on the water supply: Slowly open the shutoff valve to restore the water supply.
- Check for leaks: Turn on the tap and let the water run for a few seconds. Check around the faucet for any signs of leakage. If the tap is still leaking, it may be due to a faulty component or an incomplete seal. Recheck the installation and ensure all parts are securely in place.
Tips For Preventing Future Leaks
To avoid dealing with future leaks, here are a few maintenance tips:
- Regularly check for leaks: Take a few minutes each month to check your taps for any signs of leaking. Early detection can prevent more significant issues down the line.
- Replace worn washers and O-rings promptly: Don’t wait for a small drip to turn into a large leak. If you notice a slight leak, replace the parts immediately to avoid wasting water.
- Clean your taps: Mineral deposits and buildup can cause wear on internal parts. Regularly clean the faucet to keep it in good condition.
- Invest in quality parts: When replacing components, always opt for high-quality washers, O-rings, and cartridges. Cheap components may wear out faster and lead to recurring leaks.
Conclusion
Fix leaking taps in The Range doesn’t have to be a difficult or expensive task. By following these simple steps, you can save water, reduce your utility bills, and extend the life of your tap. Whether you’re a DIY enthusiast or a beginner, this guide provides you with all the tools and knowledge needed to tackle the repair efficiently.
Remember, even a small leak can waste gallons of water over time, so it’s always best to address the issue promptly. By taking action today, you’re not only preventing damage to your home but also making a positive contribution to water conservation.
